Designing complex, custom façade systems in a 3D modeling software often means juggling a lot of separate components. Doors, windows, panels, and structural elements all need to line up and behave as one system, which can be complicated and tedious.
That’s where the Door and Window Assembly tool comes in. It gives you a way to group everything into a single, flexible object that represents such a system and is easier to manage, edit, and document.
This tool builds on what you already know about Doors, Windows, and Object Styles. If you’re comfortable placing and editing those elements, you’re ready to start creating assemblies.
HOW TO CREATE AN ASSEMBLY
There are a few ways to create an assembly, but most designers start by selecting existing Doors and Windows in a Wall. Once selected, a right click gives you the option to turn them into an assembly.
You can also place a prebuilt assembly style directly into a Wall or create a custom shape by drawing a 2D object on a Wall and converting it. That last option is especially useful when you’re working with non-rectangular or highly custom designs.
Preferences Dialog
When you create a new assembly, the Preferences dialog is where everything starts to take shape.
Many of the settings will feel familiar if you’ve used the Window tool before. You can define how the size is measured, where the elevation is referenced, and how the assembly relates to the Wall.
A couple of settings stand out. The Unit Offset Reference controls how all units align within the frame, and the Default Panel Style determines the settings for any panels generated by the assembly. Plus, you can always edit them later.
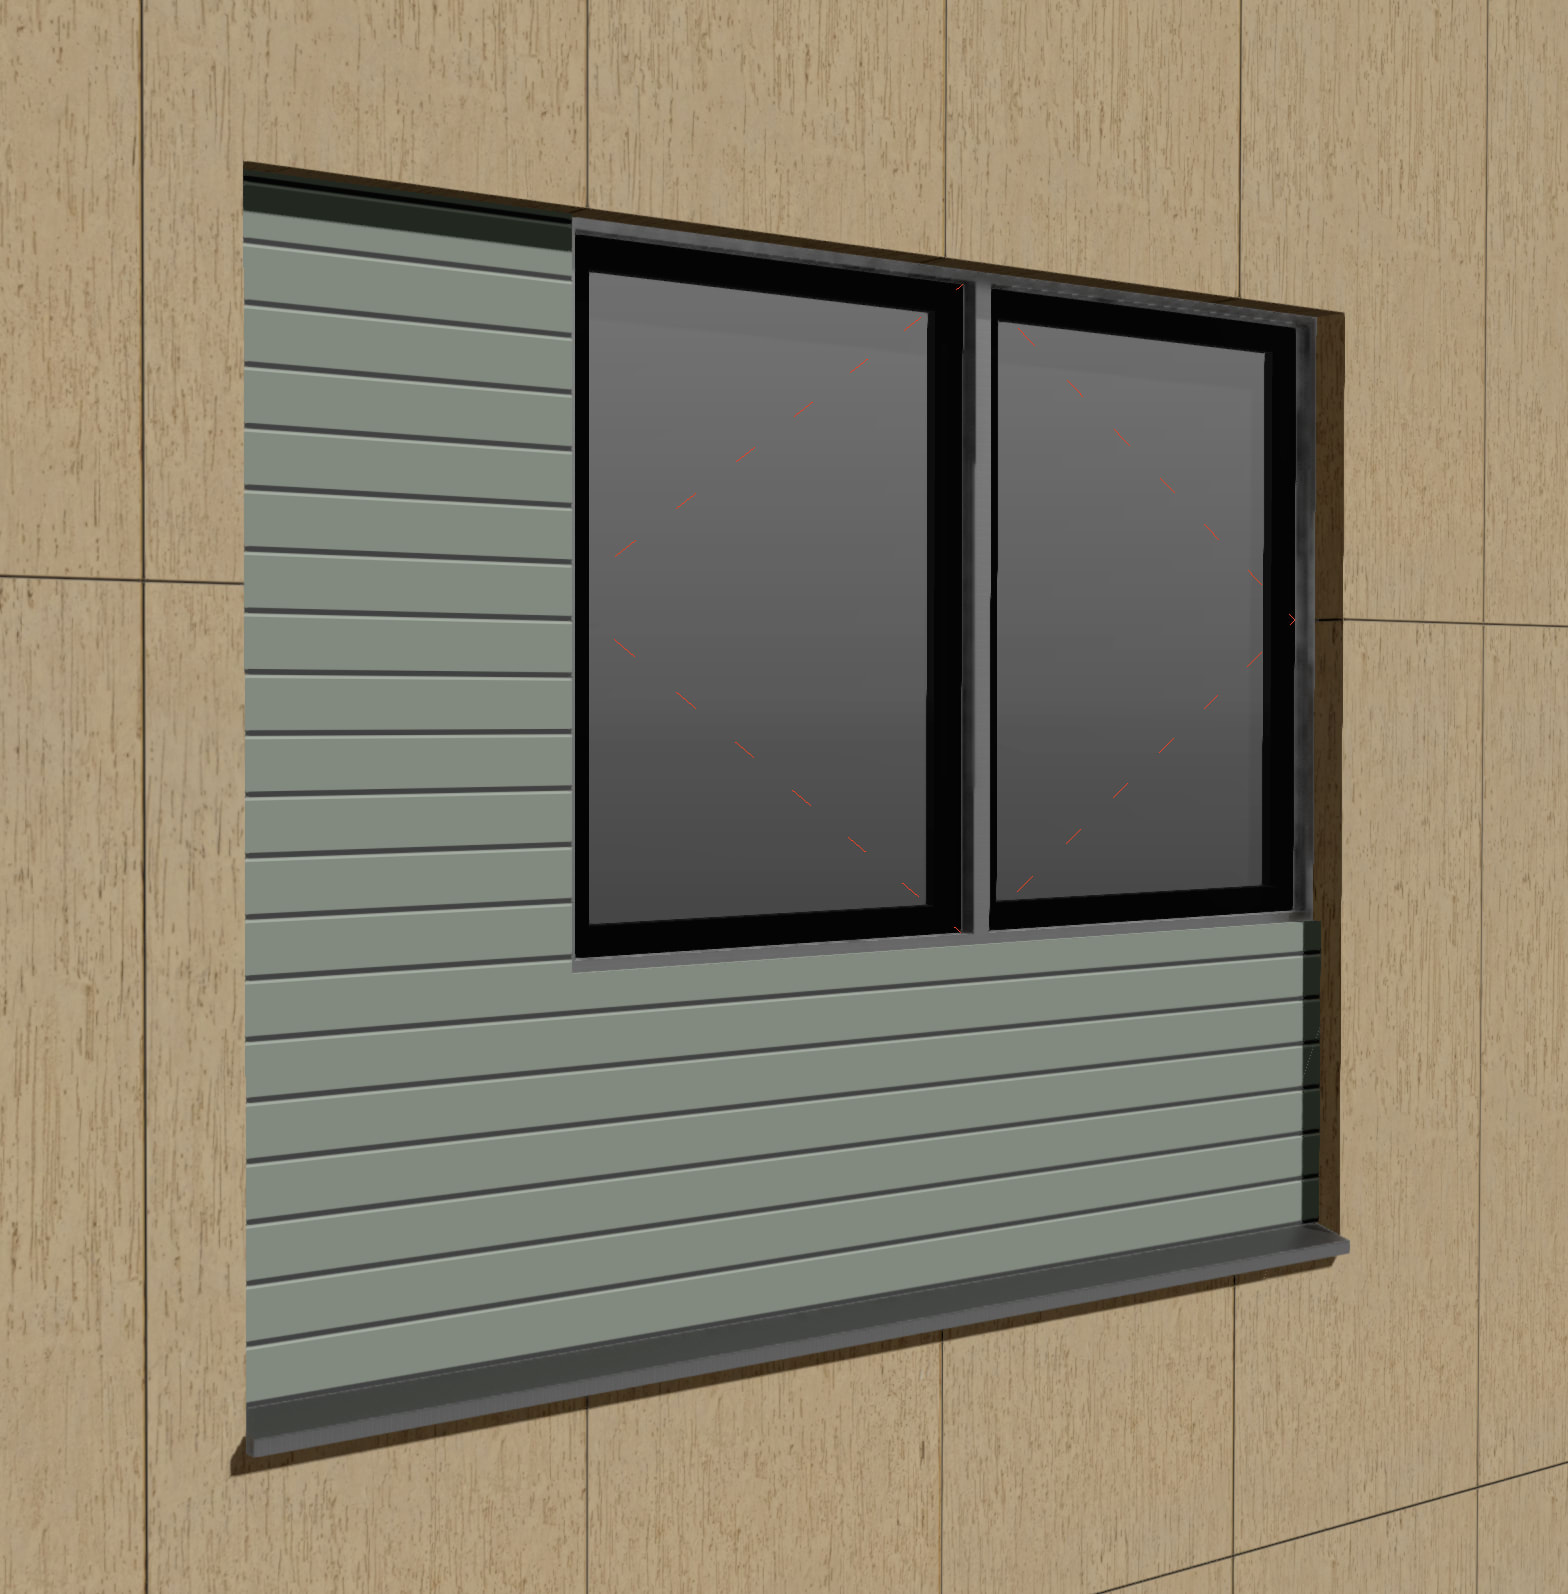
Frames & Mullions
Frames and mullions are at the core of how an assembly is built.
You can choose to keep the original frames of each Door and Window, which is useful for mulled or ganged configurations installed on site. Or you can create a single outer frame that replaces the individual ones, which is more typical for storefront systems. Mullions then take over the role of dividing the units inside that frame. Their placement, depth, and alignment can all be controlled, and you can fine-tune them later if needed.
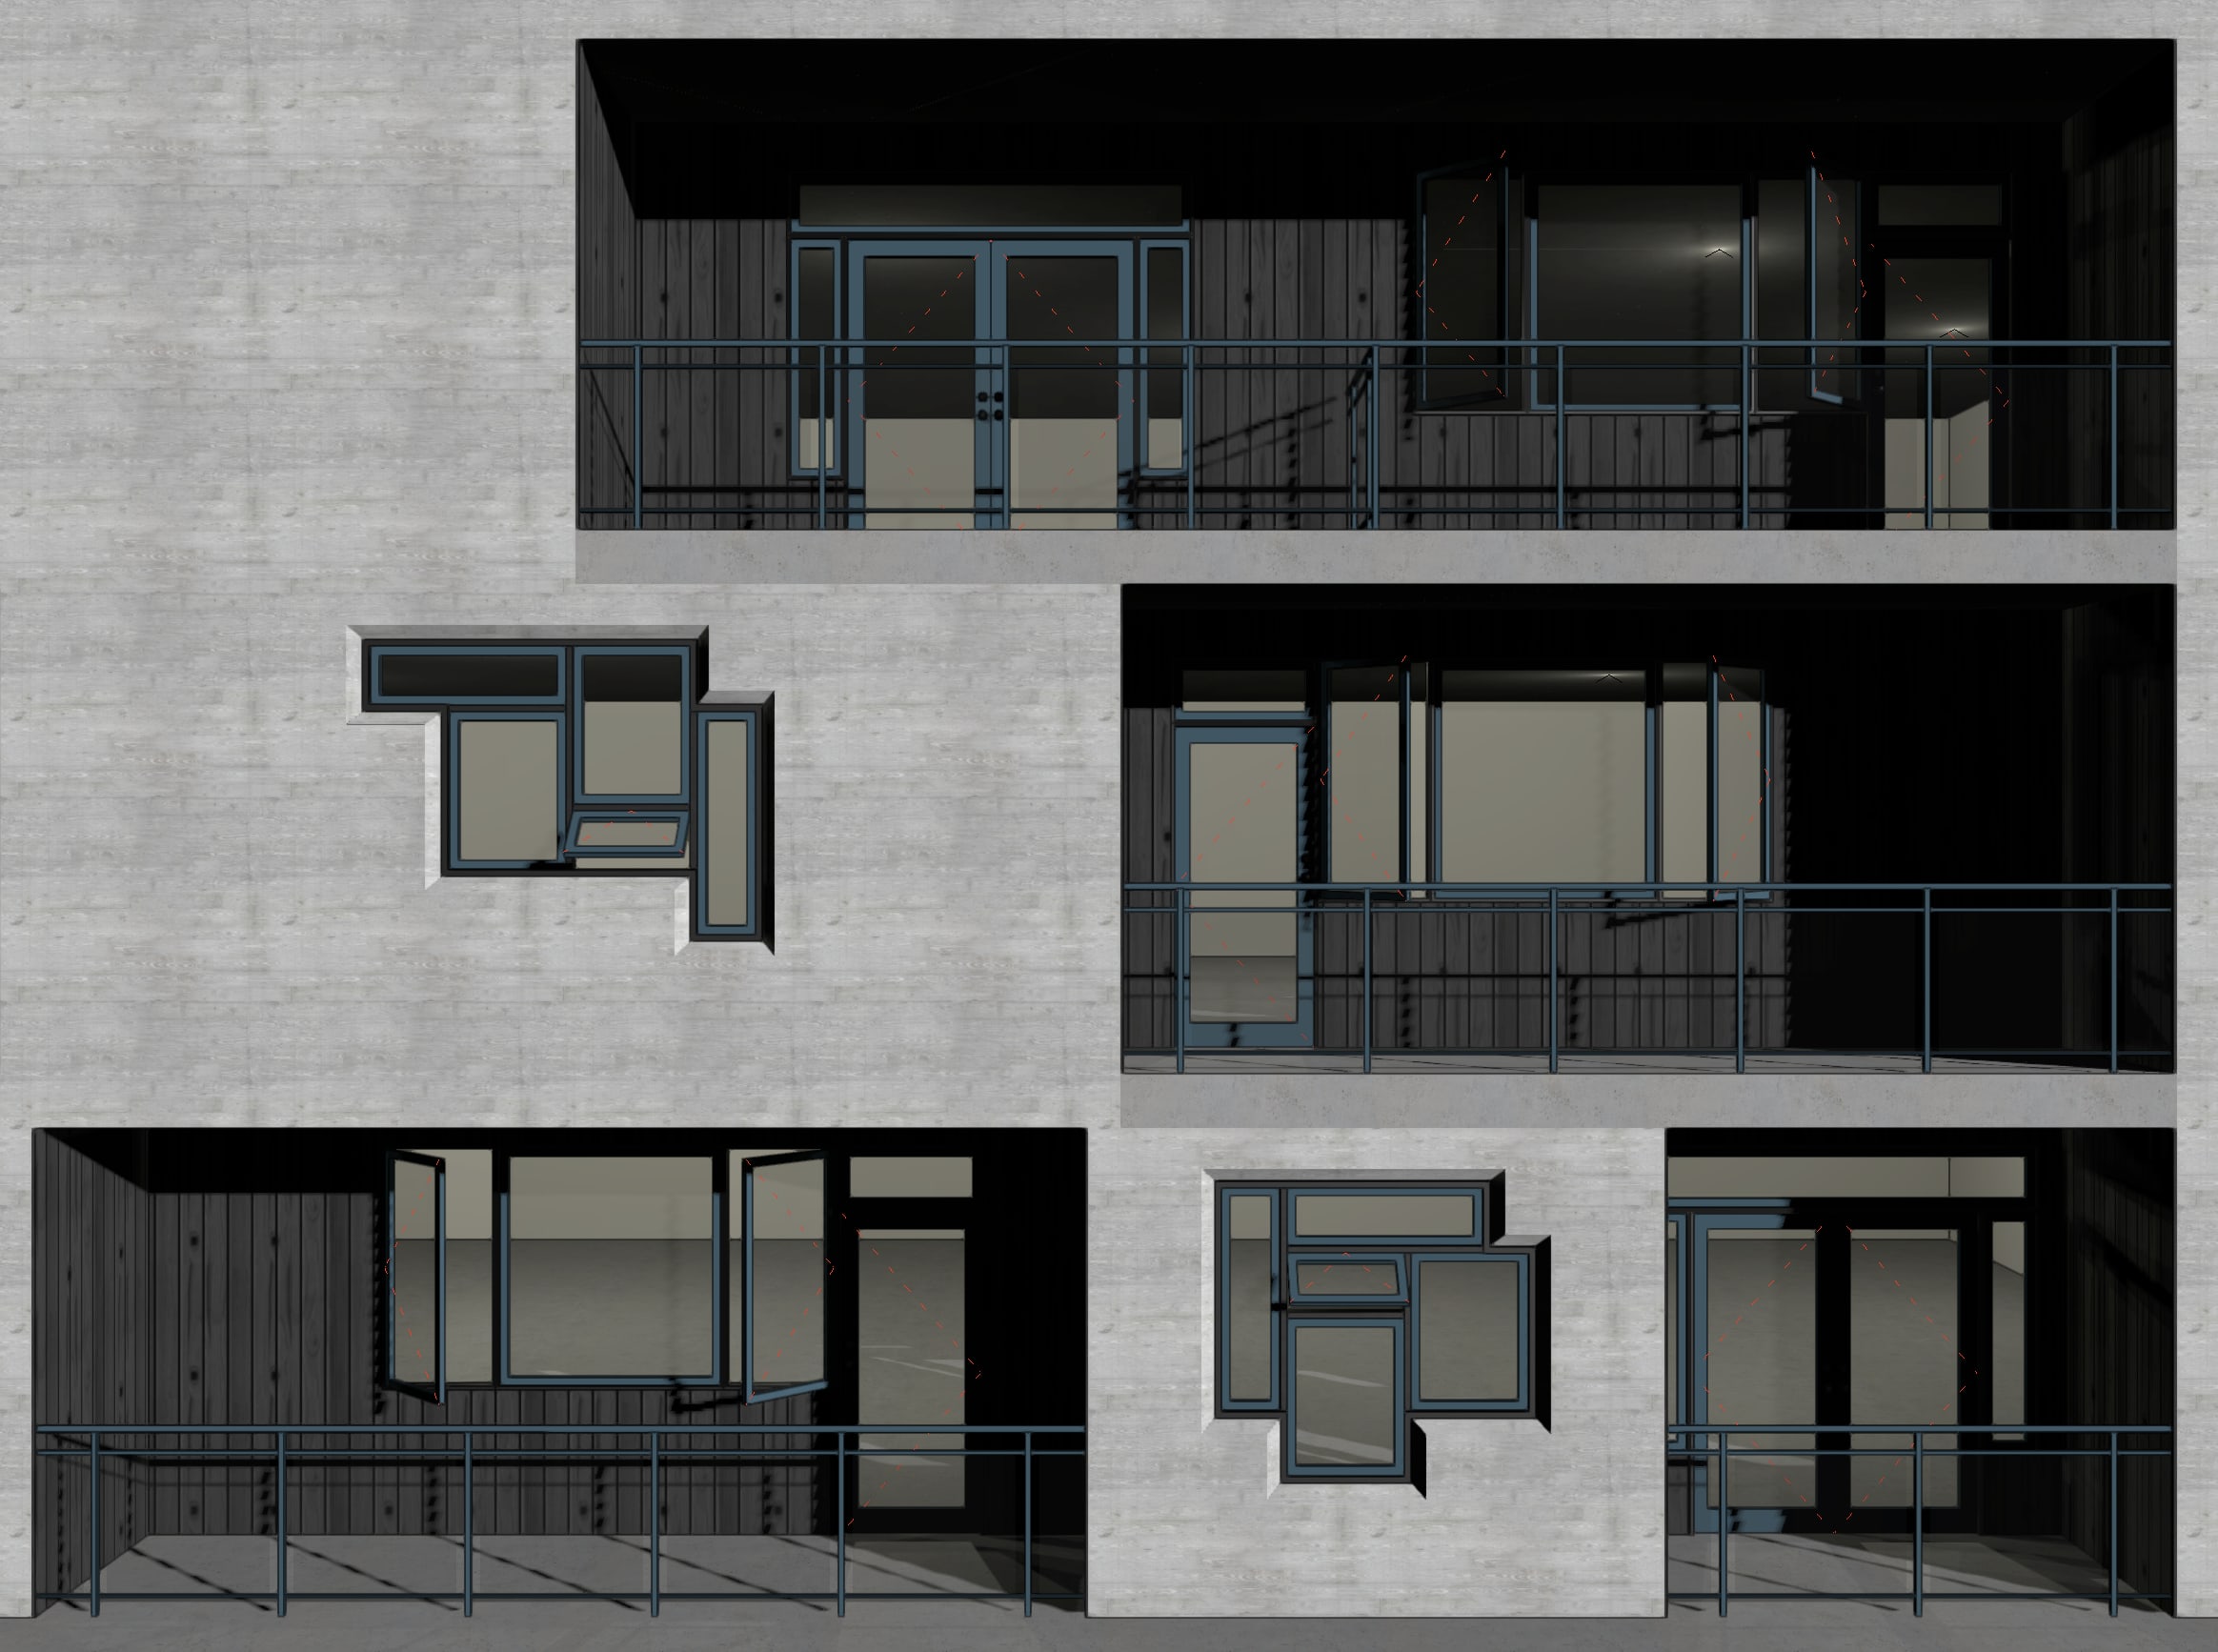
Layout Editor
Once the assembly is created, the real flexibility shows up in the Layout Editor. This is where you can directly manipulate the structure.
You can adjust frame segments, add or remove mullions, and reshape units by dragging handles. If you split a unit into a shape that a Door or Window can’t support, the system automatically converts it into a Panel. That keeps the design intact without breaking the assembly.
Editing Units
Editing units is just as straightforward.
You can resize them, constrain their dimensions, or even swap their type entirely. A Window can become a Door, a Panel, a Symbol, or a Wall infill with just a few clicks. This makes it easy to test design options without rebuilding your layout from scratch.
If you need to add new units, there are multiple insertion modes that let you place them along a frame edge, drop them into an existing layout, or draw them interactively.
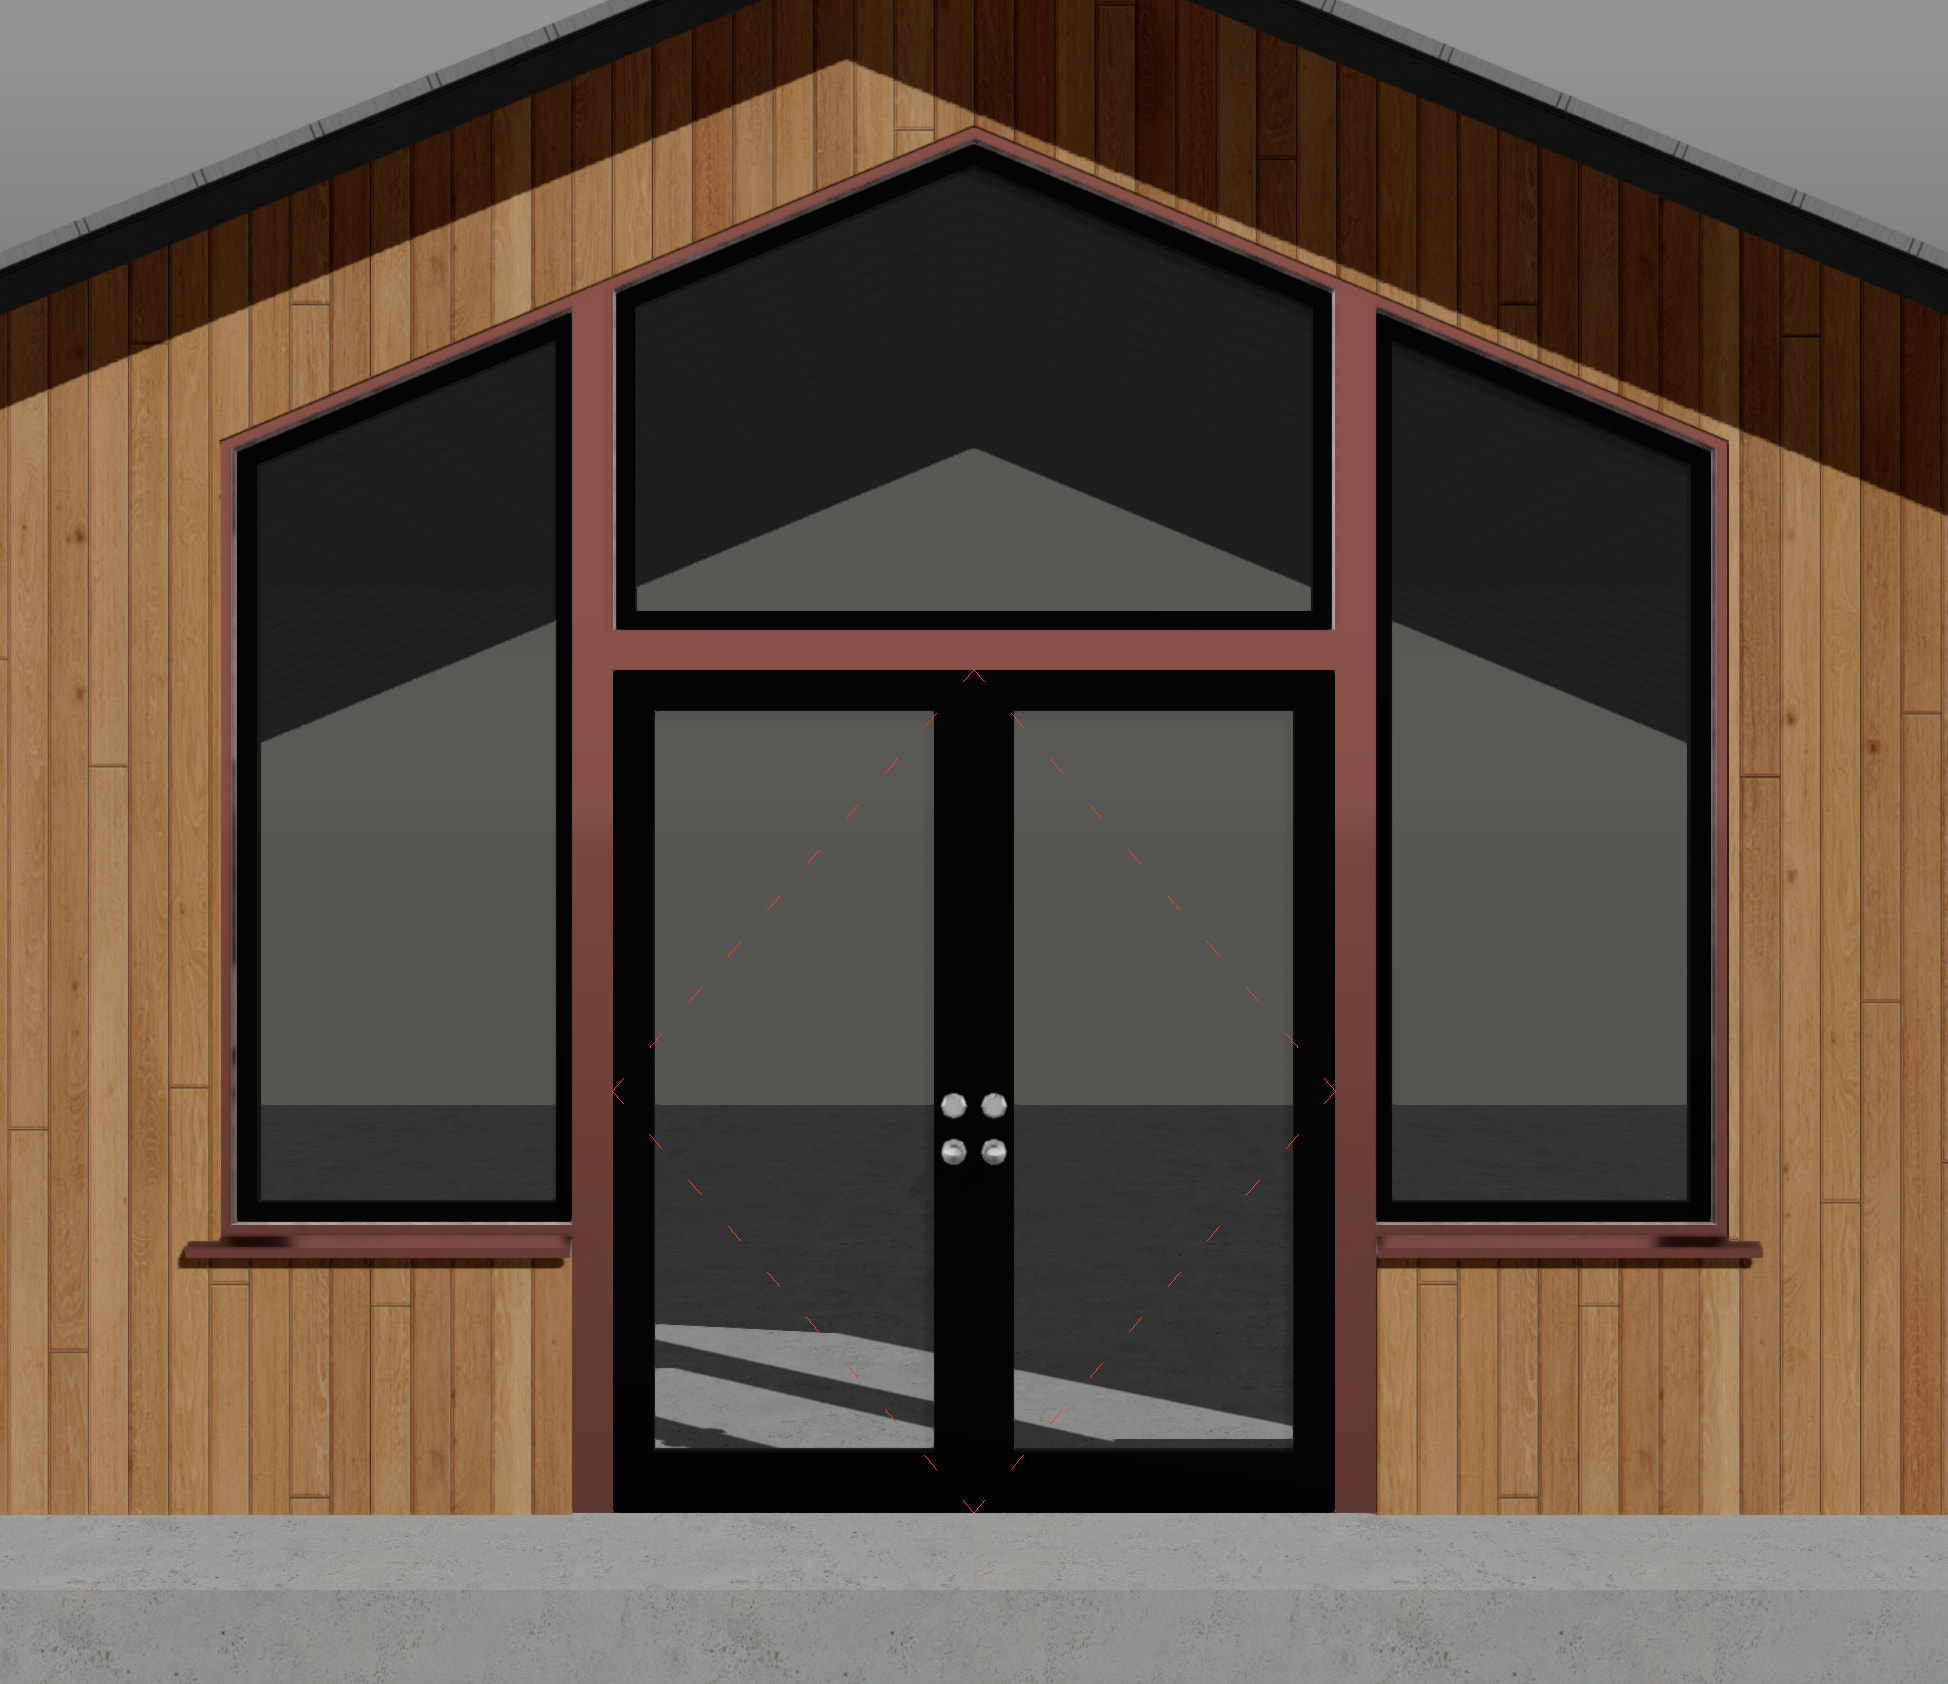
Adding Accessories
Accessories add another layer of detail. Elements like sills, lintels, trim, and shutters are treated as smart objects that can be applied to specific frame segments. They come with their own settings, including how they connect at the ends, which helps you match real construction conditions. Because these accessories can be styled, you can reuse them across multiple assemblies and keep your documentation consistent.
Reshaping Assemblies
Reshaping the overall assembly is also flexible. You can scale it by dragging control points, which adjusts everything proportionally, or you can reshape specific edges and vertices for more localized changes. If certain units need to stay fixed, you can lock their dimensions so that they don’t stretch along with the rest of the system.
Saving as a Style for Reuse
Once you’ve built something that works, saving it as a style can save a lot of time later. Styles let you reuse an assembly’s appearance, layout, and behavior. You can decide whether the layout is fixed or flexible per instance, depending on how much variation you need across a project. There’s also an option to import settings from other Styles, which helps maintain consistency across projects.
Overall Assembly Behavior
In practice, assemblies behave as a single object when placed in a wall. Wall closures apply to the entire unit, while individual components still retain some control, like offsetting a door to the interior face while keeping Windows aligned to the exterior.
Tagging and reporting are also streamlined. You can label the whole assembly or drill down into individual units, and schedules can include everything if you enable the option to search within plugin objects.
Assemblies: The Upshot
The strength of the Door and Window Assembly tool is how it balances control and efficiency. You get the detail needed for complex designs without losing the ability to make quick changes.
You can find more videos like the one in this post on our YouTube channel.
Stay in the know with the latest insights
Subscribers receive news, customer stories, success and learning tips, event information, and other important announcements from Vectorworks.
By submitting this form, you agree that Vectorworks, Inc. and its authorized partners may contact you in regards to news, offers, and the use of our software, services, and platforms. Learn more about our privacy practices and your data on our privacy page.*