You have the freedom to create breathtaking scenic elements with Vectorworks Spotlight.
The software’s hybrid drawing environment, detailed documentation, and other design features make it the software of choice for scenic design professionals like yourself.In this post, you’ll review ten features that work wonders when you’re modeling and presenting custom scenic design elements in Vectorworks.
Ten Vectorworks features to create stunning scenic designs:
- Loft Surface tool
- Surface Array command
- Duplicate Along Path command
- Deform tool
- Per Face Texture Mapping
- Edit Subdivision tool
- Text Along Path
- Data Visualization
- Cloud Presentations and Panoramas
- Creating 3D Print
1. Loft Surface Tool
The Loft Surface tool is perfect for creating drooping, flowing elements in your scenic design.

The Loft Surface tool creates flowing shapes from two or more 3D NURBS curves. The cross-sections of your NURBS shapes don’t need to be equally spaced either. The resulting profile can be manipulated to avoid self-intersection and to control twists.
2. Surface Array Command
When working on your next scenic design, use the Surface Array command to create repetitive frameworks, decorate walls, and establish other details across a wall or backdrop on your set.

This command is great for creating repetitive geometry that follows the shape of any shape or surface.
3. Duplicate Along Path Command
Use the Duplicate Along Path command for setting up repeated, equidistant design elements, saving you time in your scenic design workflow.

Like the Surface Array command, the command also helps duplicate geometry. But while the Surface Array command covers the shape of any surface, Duplicate Along Path — as the name suggests — follows any path you draw.
Simply draw your desired path, create an object, and the command will place the object along said path. And if you turn your objects into symbols for future use, an update to one will automatically update all the others.
4. Deform Tool
The Deform tool allows you to create unique, organic shapes that would be very time-consuming to create from scratch. The Deform tool is also great for creating custom projection surfaces to best match the shape of a stage or venue!

You can bend, taper, or create a bulge in any 3D object with this tool in Vectorworks.
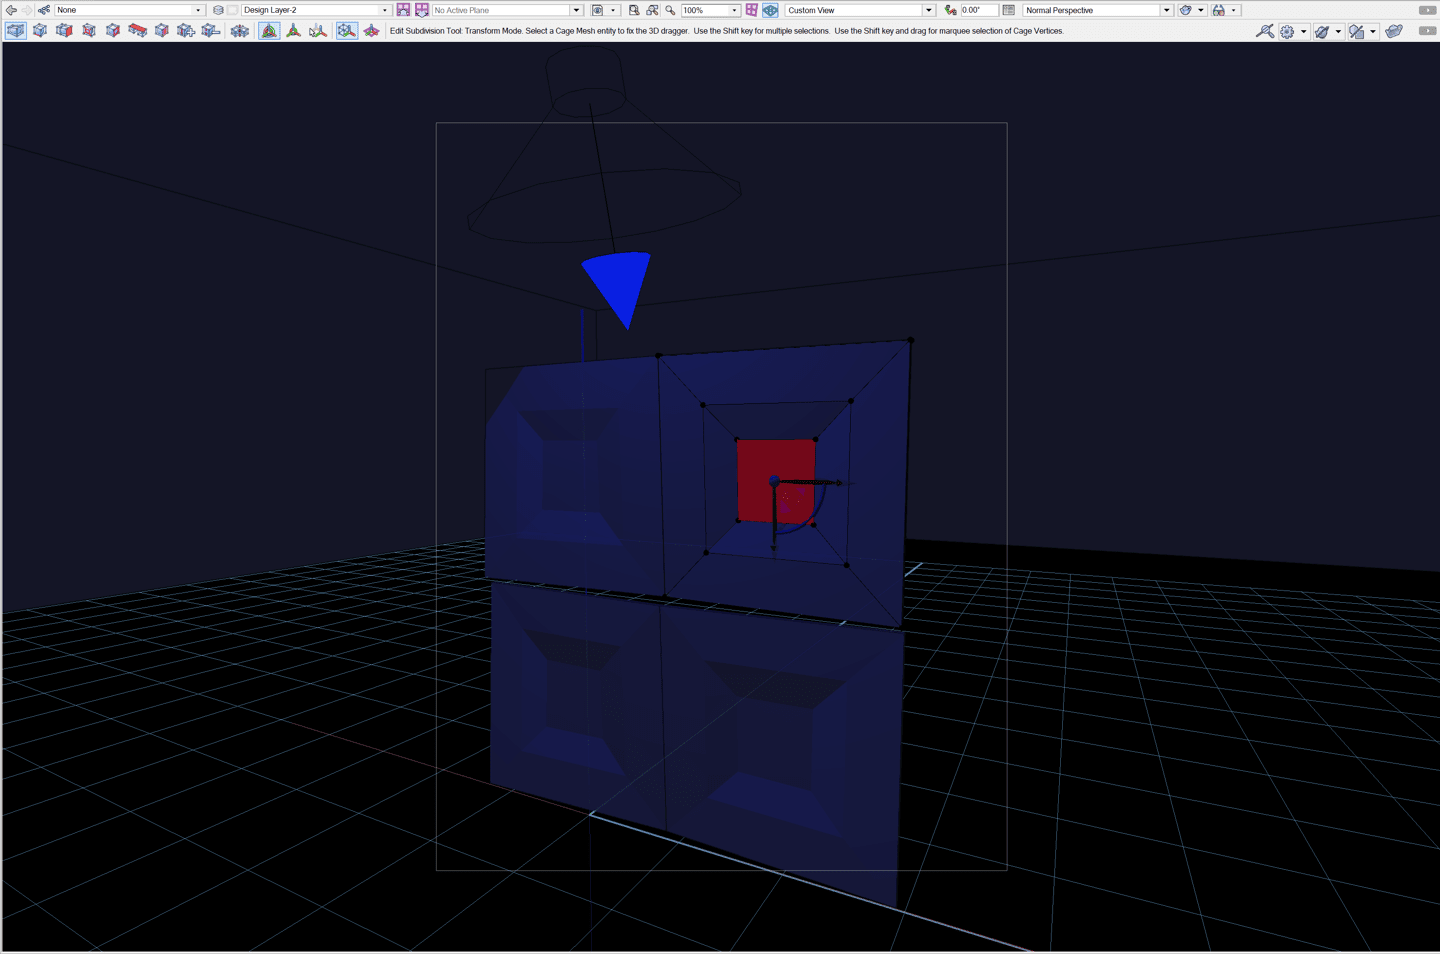
5. Edit Subdivision Tool
We’ve seen some pretty impressive scenic elements created with the Subdivision tool. It can quickly create unique and complex shapes that can also be converted into generic solids — allowing for an even deeper level of control.

The technology used for your Subdivision models is based upon the same technology that Pixar uses to create their iconic scenes and characters.
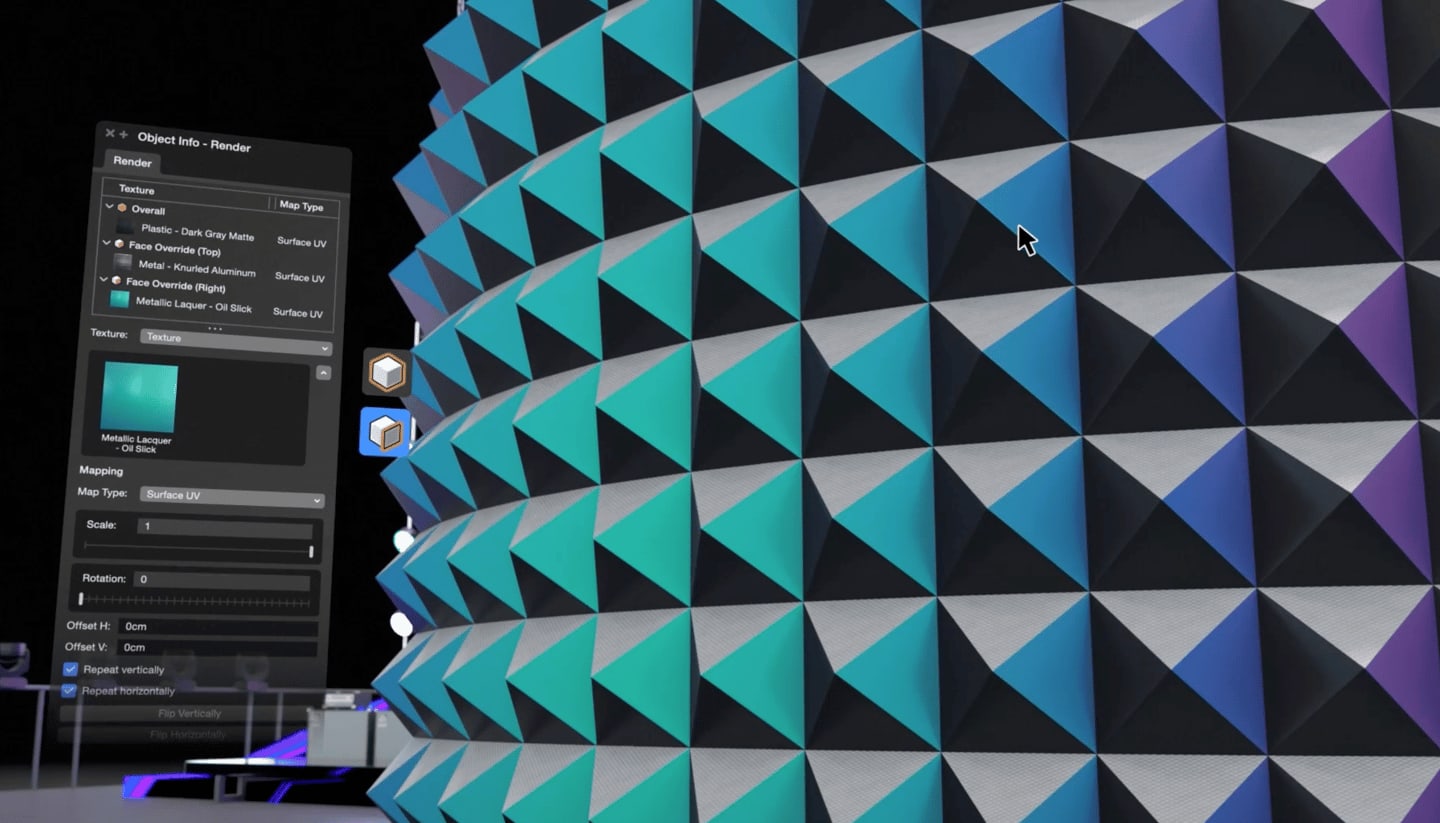
6. Per Face Texture Mapping
Per Face Texture Mapping provides you with the design flexibility to create accurate textures and control them on a face-by-face basis. Tables, wood paneling, on-set furniture, and more can take on heightened realism with Per Face Texture Mapping.

When using the feature, you also can adjust scale and rotation of your textures with a redesigned Render tab in the Object Info palette (OIP).
7. Text Along Path
Do you need to create custom signage or other forms of 3D text for a scene? The Text Along Path command is an easy way to bring deserved attention to your design!
The command seamlessly converts text into polylines. Then, you can place the polylines along any shape, line, or path you’d like.

Your Text Along Path parameters can be edited in the OIP.
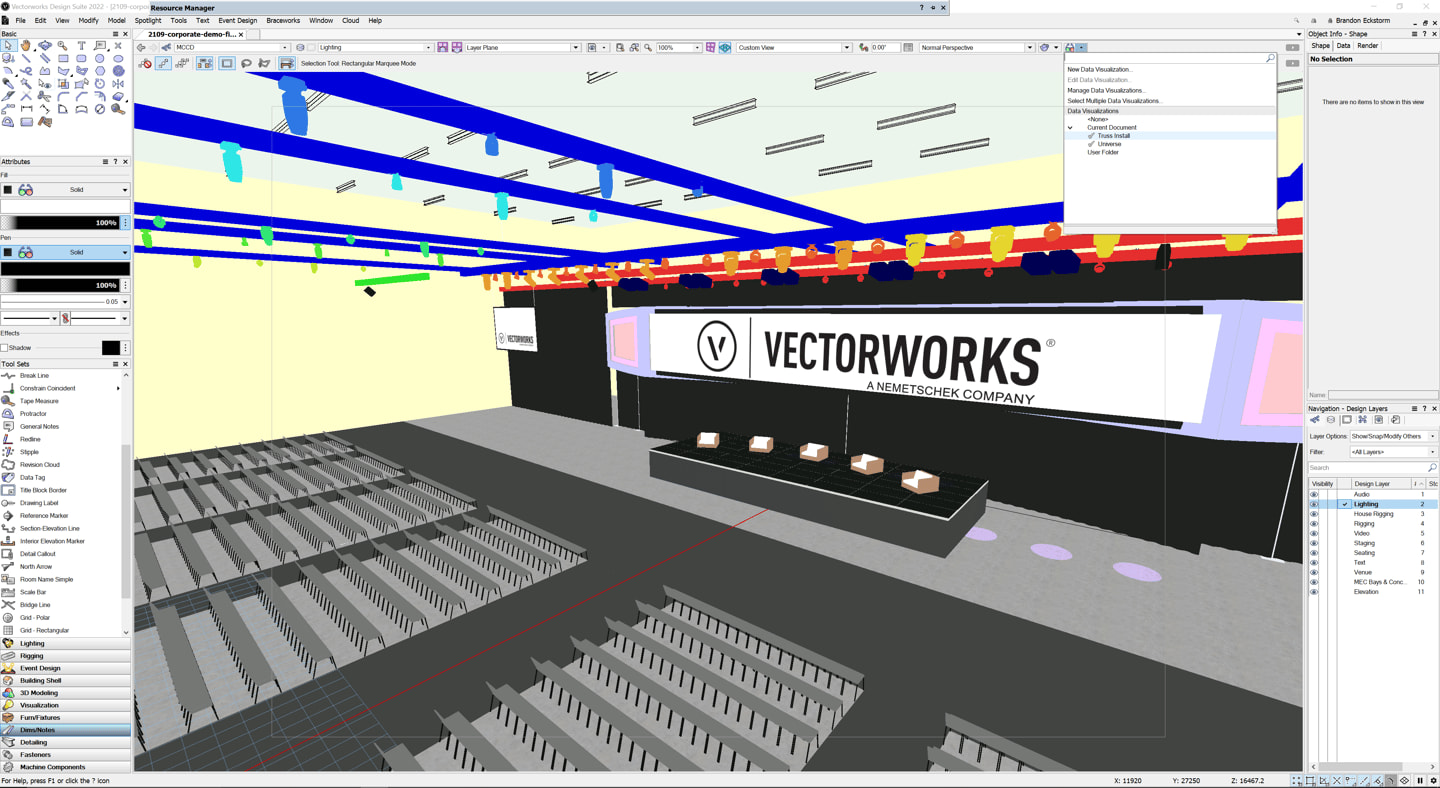
8. Data Visualization
With Data Visualization in Vectorworks, you can color-code the order your scenery gets put out on stage, which items should be fire-proofed, which items go in what case, and much more!

While Data Visualization may not help you design specific scenic elements, it’ll greatly aid in the overall efficiency of your workflow, helping you simply communicate technical details.
9. Cloud Presentations and Panoramas
If you export your scenic design as a panorama using the Vectorworks Cloud, clients and consultants will be able to view the design in a web browser, feeling as though they’re actually in your design.

With Vectorworks Cloud Services, you’re able to collaborate, document, and access any of your Vectorworks files no matter where you are. When you use the Cloud, you and your consultants can access your scenic design from the desktop app, mobile app, or web portal.
10. Creating 3D Prints
When discussing his cranial-inspired scenic design for James Lapine’s Flying Over Sunset, Beowulf Boritt mentioned the importance of also creating physical models.
With the use of a third-party plugin, you can turn your scenic design elements — or the entire design — into a 3D-printed representation.
You can design your 3D model as normal, using any number of modeling techniques, or you can import 3D objects from elsewhere. Once you have a modeled object, you have to translate it into a format your printer can decode.

Vectorworks Spotlight helps with the heavy lifting in your scenic design process, freeing you up to focus on more conceptual and creative pursuits.
Click the button below to learn more about efficient scenic design in Vectorworks.
Stay in the know with the latest insights
Subscribers receive news, customer stories, success and learning tips, event information, and other important announcements from Vectorworks.
By submitting this form, you agree that Vectorworks, Inc. and its authorized partners may contact you in regards to news, offers, and the use of our software, services, and platforms. Learn more about our privacy practices and your data on our privacy page.*